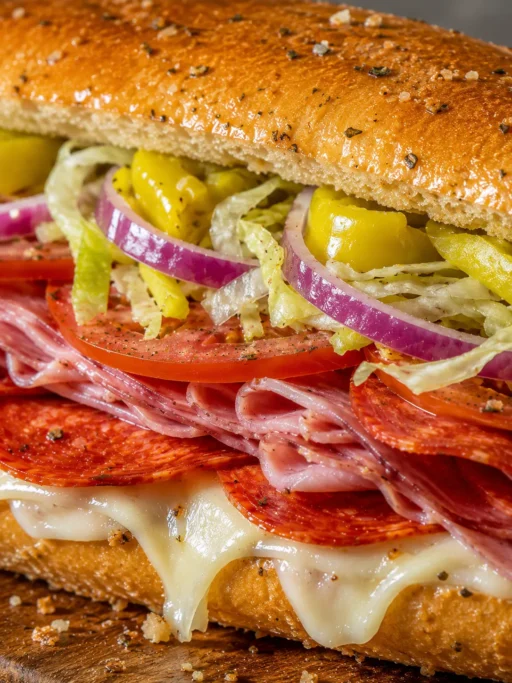
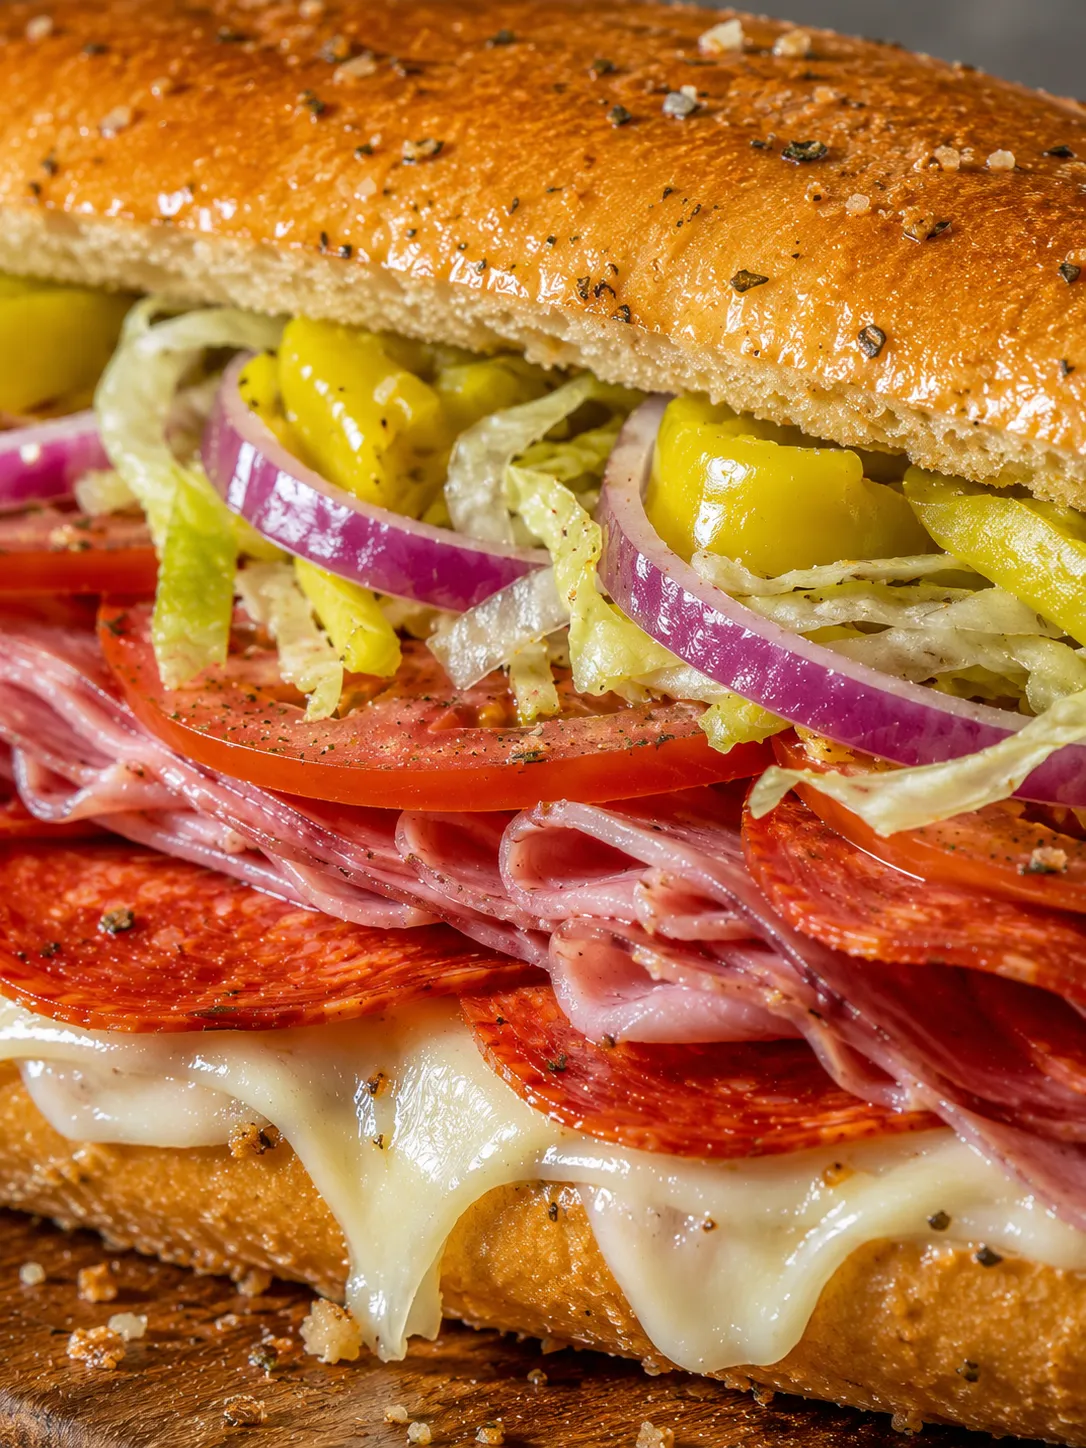

Baked Italian Sub Sandwiches are what I make when I want a hot dinner that still feels easy. The rolls crisp at the edges, the cheese melts into the meat, and the cold toppings go on at the end for crunch.
The main trick is keeping wet ingredients away from the bread until the last minute. A little butter and Italian seasoning on the rolls gives flavor without soaking them.
These work for a family meal, a game day tray, or a low-effort Friday night dinner. Slice them in halves for sharing, or serve one whole sandwich per hungry person.
What Makes These Subs Work
The best baked subs start with sturdy rolls and thin deli slices. Ask for the meat sliced thin enough to fold, not shaved into scraps. That gives you warm layers instead of a dense block of meat.
- Hoagie rolls. A hinged roll holds the filling together and crisps better than soft sandwich bread.
- Genoa salami. Adds savory spice and the familiar Italian deli flavor.
- Deli ham. Brings a mild, slightly sweet layer that balances the sharper meats.
- Pepperoni. Gives the sandwiches a little heat and extra browned edges.
- Provolone. Melts into the meat and helps hold each sandwich together.
- Pepperoncini. Adds vinegar bite and keeps the rich filling from tasting heavy.
- Garlic butter. Seasons the rolls without flooding them with dressing.
- Lettuce, tomato, and onion. Go on after baking for crunch, freshness, and a classic sub finish.
Bake Baked Italian Sub Sandwiches
- Heat the oven. Set the oven to 375°F and line a sheet pan with foil or parchment.
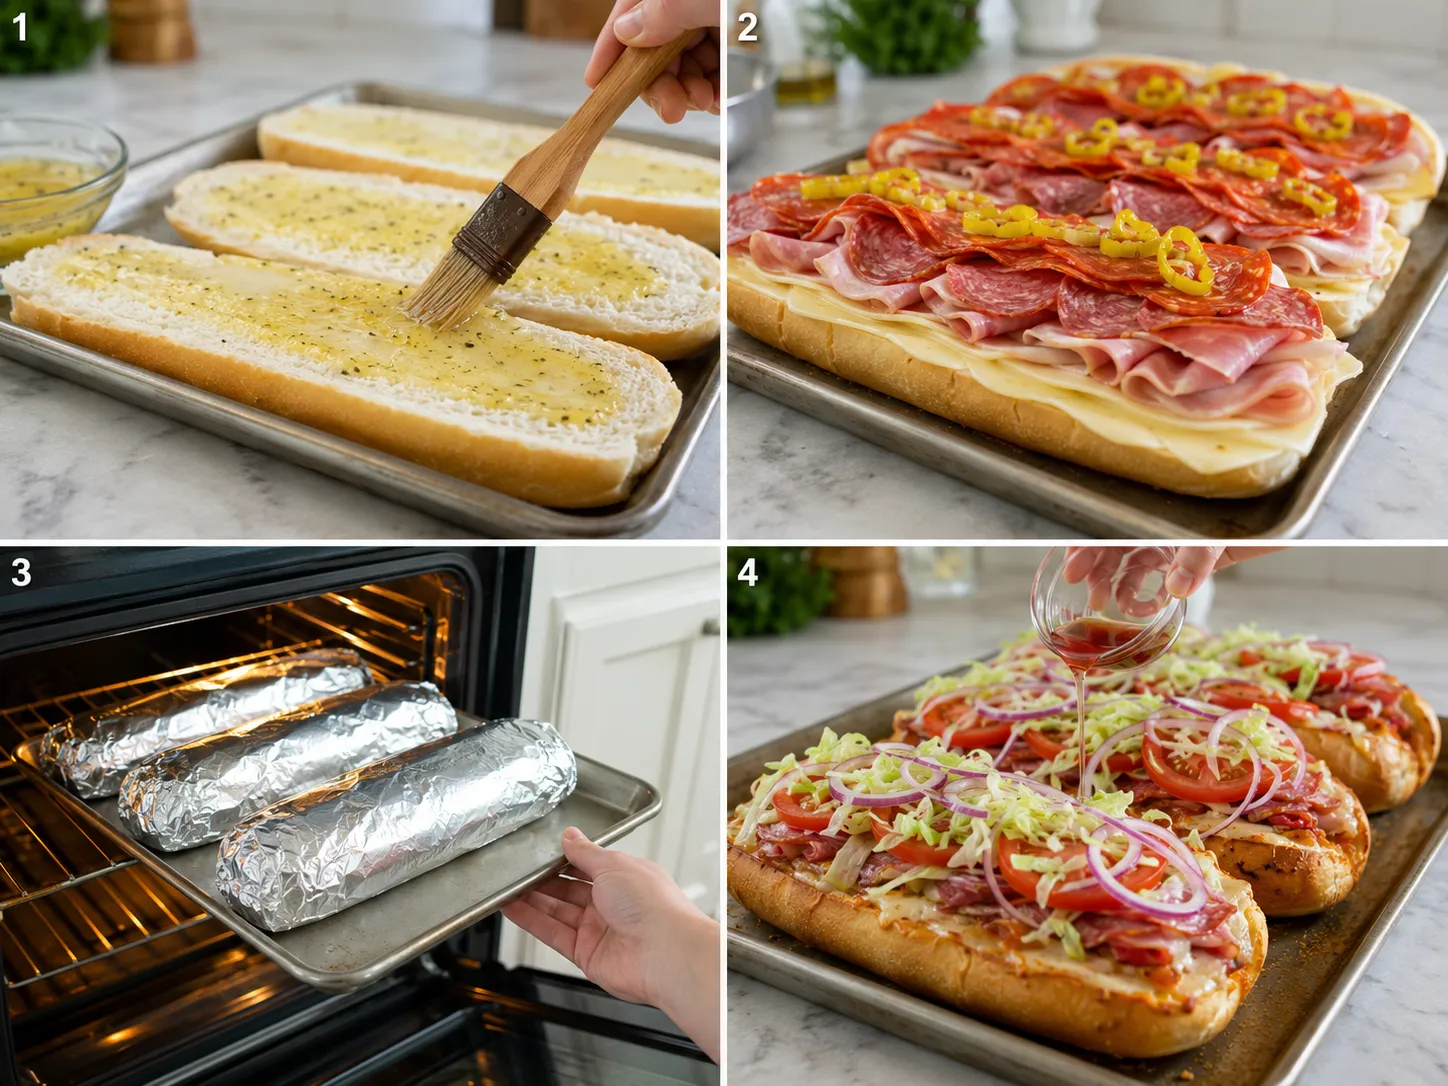
- Season the rolls. Stir melted butter with oil, vinegar, garlic powder, Italian seasoning, and black pepper. Brush the cut sides lightly.
- Layer the filling. Add provolone to each roll, then layer ham, salami, pepperoni, pepperoncini, and another half slice of cheese.
- Wrap and bake. Close the sandwiches, wrap each one loosely in foil, and bake until the cheese melts and the centers are hot.
- Crisp the tops. Open the foil and bake a few more minutes so the bread picks up color around the edges.
- Finish cold and crisp. Add shredded lettuce, tomato, red onion, and a small splash of vinegar right before serving.
Why Baked Italian Sub Sandwiches Work
A hot sub can turn heavy fast if every topping goes into the oven. The meat and cheese need heat. The lettuce and tomato do not. Baking only the sturdy fillings gives you a warm, melty center while the fresh toppings stay snappy.
Ready-to-eat deli meats are already cooked, but heating them until steaming hot is a smart habit for anyone at higher risk from listeria. The USDA deli meat guidance explains why hot holding and reheating matter for luncheon meats.
The No-Soggy-Bread Method
Moisture is the enemy here. Tomatoes, shredded lettuce, and vinegar are delicious on a sub, but they belong at the finish. If you bake them inside, the steam gets trapped and the bottom roll softens.
For extra insurance, put cheese against the bread first. It acts like a small barrier between the roll and the meat. If your hoagie rolls are very fluffy, open them on the sheet pan and toast for 3 minutes before you add the filling.
Meat And Cheese Swaps
This recipe is flexible as long as you keep the slices thin and the total filling reasonable. Swap capicola for ham if you want more spice. Use mortadella for a softer deli flavor. Roast beef makes the sandwiches heartier, and turkey works if you want something milder.
Provolone is the easiest cheese for these baked Italian subs. Mozzarella melts more, but it can taste bland without extra pepperoncini. A little grated parmesan inside the roll is good too, especially if your meats are mild.
Serving A Crowd
For parties, assemble the sandwiches on a sheet pan and keep them wrapped until guests arrive. Bake them all at once, then cut each sub in half on a slight angle. Set out shredded lettuce, tomato, onion, pepperoncini, oil, and vinegar so people can finish their own.
If the sandwiches will sit out, keep the timing in mind. The USDA leftovers guide recommends refrigerating perishable food within 2 hours, or within 1 hour when the room is over 90°F.
Storing And Reheating Subs
Store leftover baked subs without the cold toppings if you can. Wrap them tightly and refrigerate for up to 2 days. Reheat in a 350°F oven, still loosely wrapped, until hot in the center. Open the foil for the last few minutes to bring back the crisp edges.
The microwave works in a pinch, but the bread softens quickly. If you use it, heat at half power and finish the roll in a skillet or toaster oven.
Summary
These hot Italian subs bake in foil until the cheese melts, then finish uncovered for crisp edges. Add the salad-style toppings after baking for the best texture.
FAQs
- Can I make Baked Italian Sub Sandwiches ahead?
-
You can assemble the meat and cheese inside the rolls up to 6 hours ahead. Wrap the sandwiches and refrigerate them. Add lettuce, tomato, oil, and vinegar only after baking so the bread does not soften too much.
- What meats are best for hot Italian subs?
-
Use thin slices so the sandwich heats evenly. Genoa salami, ham, capicola, pepperoni, mortadella, and roast beef all work well. Pick three meats rather than piling on everything, which keeps the filling balanced.
- Can I use a different cheese?
-
Provolone is my first choice because it melts smoothly and has a mild bite. Mozzarella works if you want a softer, stretchier sandwich. Pepper jack is good for heat, though it makes the sandwich taste less classic.
- How do I keep baked subs from getting soggy?
-
Use sturdy hoagie rolls and keep juicy toppings out of the oven. Bake the meat and cheese first, then add lettuce, tomato, onion, and vinegar right before serving. If your rolls are very soft, toast them open for 3 minutes before filling.
- How long do leftovers keep?
-
Leftover baked subs are best within 2 days. Wrap them tightly and refrigerate once they cool. Reheat without the lettuce and tomato if possible, then add fresh toppings after warming.
- Can I make these without pork?
-
Yes. Use deli turkey, roast beef, chicken pepperoni, and provolone. The sandwich will still bake well. Add pepperoncini and Italian seasoning to keep that tangy deli flavor.
References
Sources cited in this recipe.