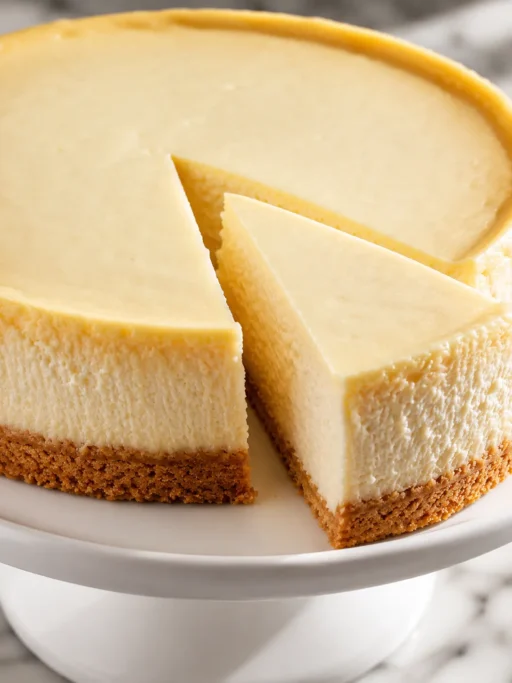
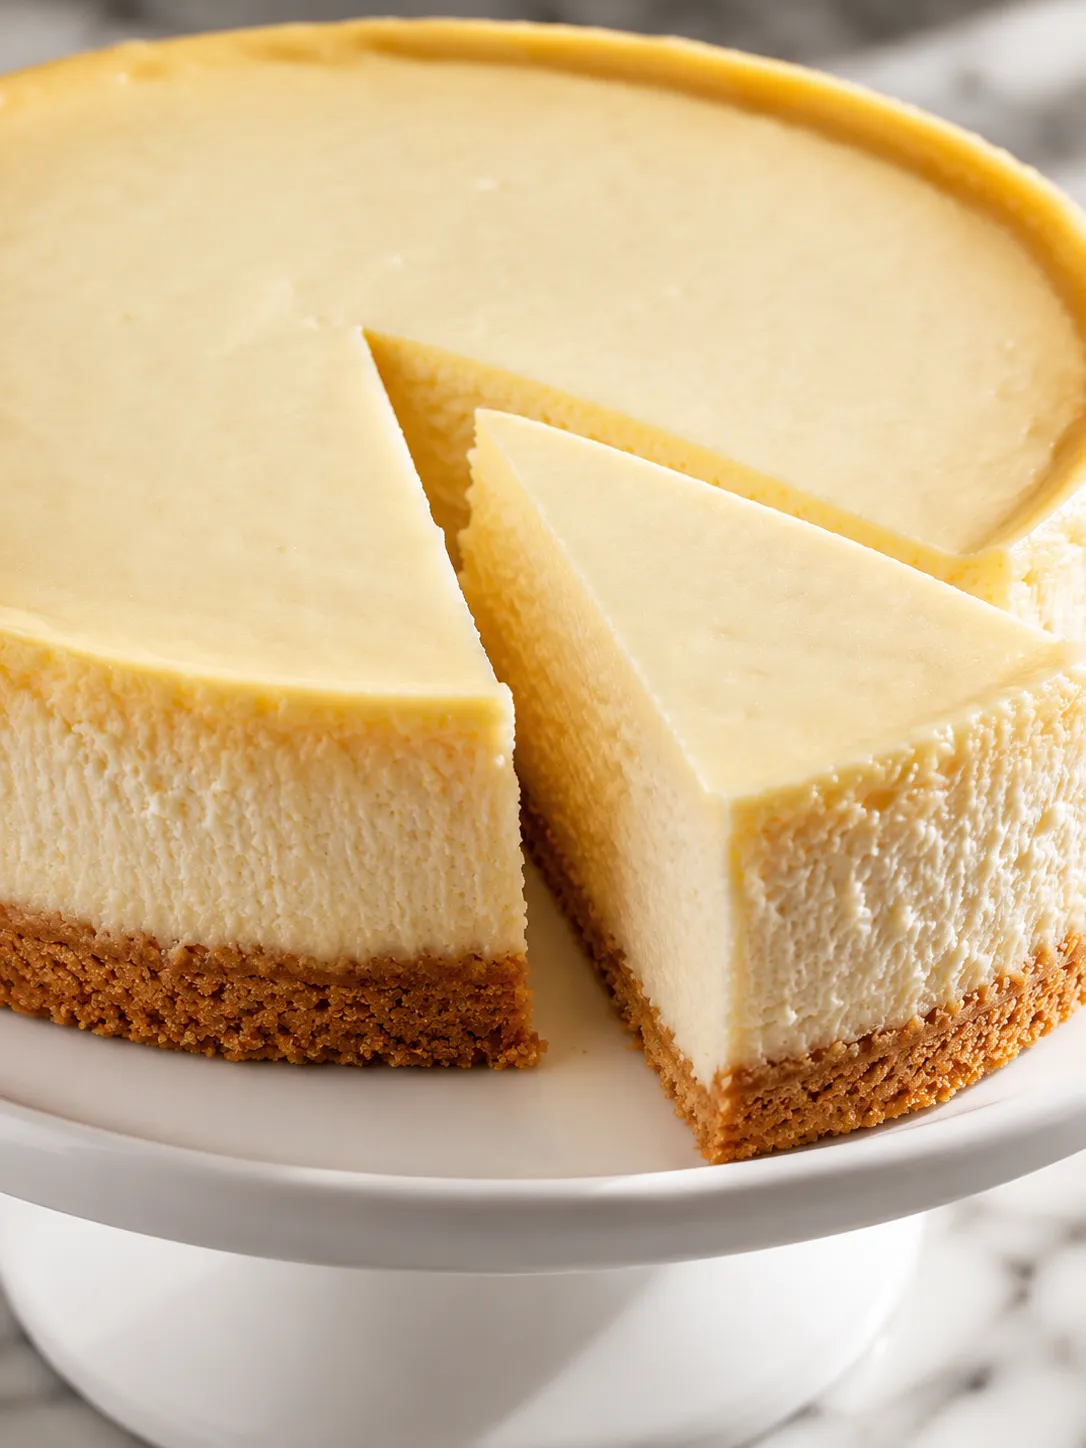

A good cheesecake rewards patience more than skill. The filling is maybe five ingredients. The crust takes ten minutes. What makes the difference is everything that happens after the baking is done: the slow cool inside the oven, and then the overnight chill in the fridge. Get those two right and you get a dense, creamy interior and a clean slice every time.
This is a classic New York-style cheesecake. No water bath, no foil around the pan, no complicated tricks. The technique keeps the top smooth without any of that fuss. It is the kind of dessert I make on a Thursday so it is perfect by Saturday, and the flavor genuinely improves the longer it sits.
What Goes Into a Great Cheesecake
The short ingredient list is the point. Full-fat cream cheese at room temperature, a little sugar, eggs, sour cream, and vanilla. Nothing complicated. Quality matters more here than technique, so use a real block of cream cheese rather than the spreadable kind from a tub.
- Full-fat cream cheese. The foundation of the filling. It must be at room temperature before you start or it will leave lumps that no amount of mixing will fix.
- Granulated sugar. Sweetens and helps the filling set with a pleasantly firm texture throughout.
- Sour cream. Adds a gentle tang and keeps the filling from being too heavy. Full-fat here too.
- Eggs. Three whole eggs give the filling structure. Adding them one at a time at low speed keeps the batter smooth and prevents excess air from getting in.
- Pure vanilla extract. A small amount carries the whole flavor. Use real vanilla, not imitation.
- Graham cracker crumbs. The standard crust base. They toast lightly during prebaking and hold together cleanly when sliced.
- Unsalted butter. Binds the crust crumbs. Melted and mixed in until the texture looks like damp sand.
Building and Baking the Cheesecake
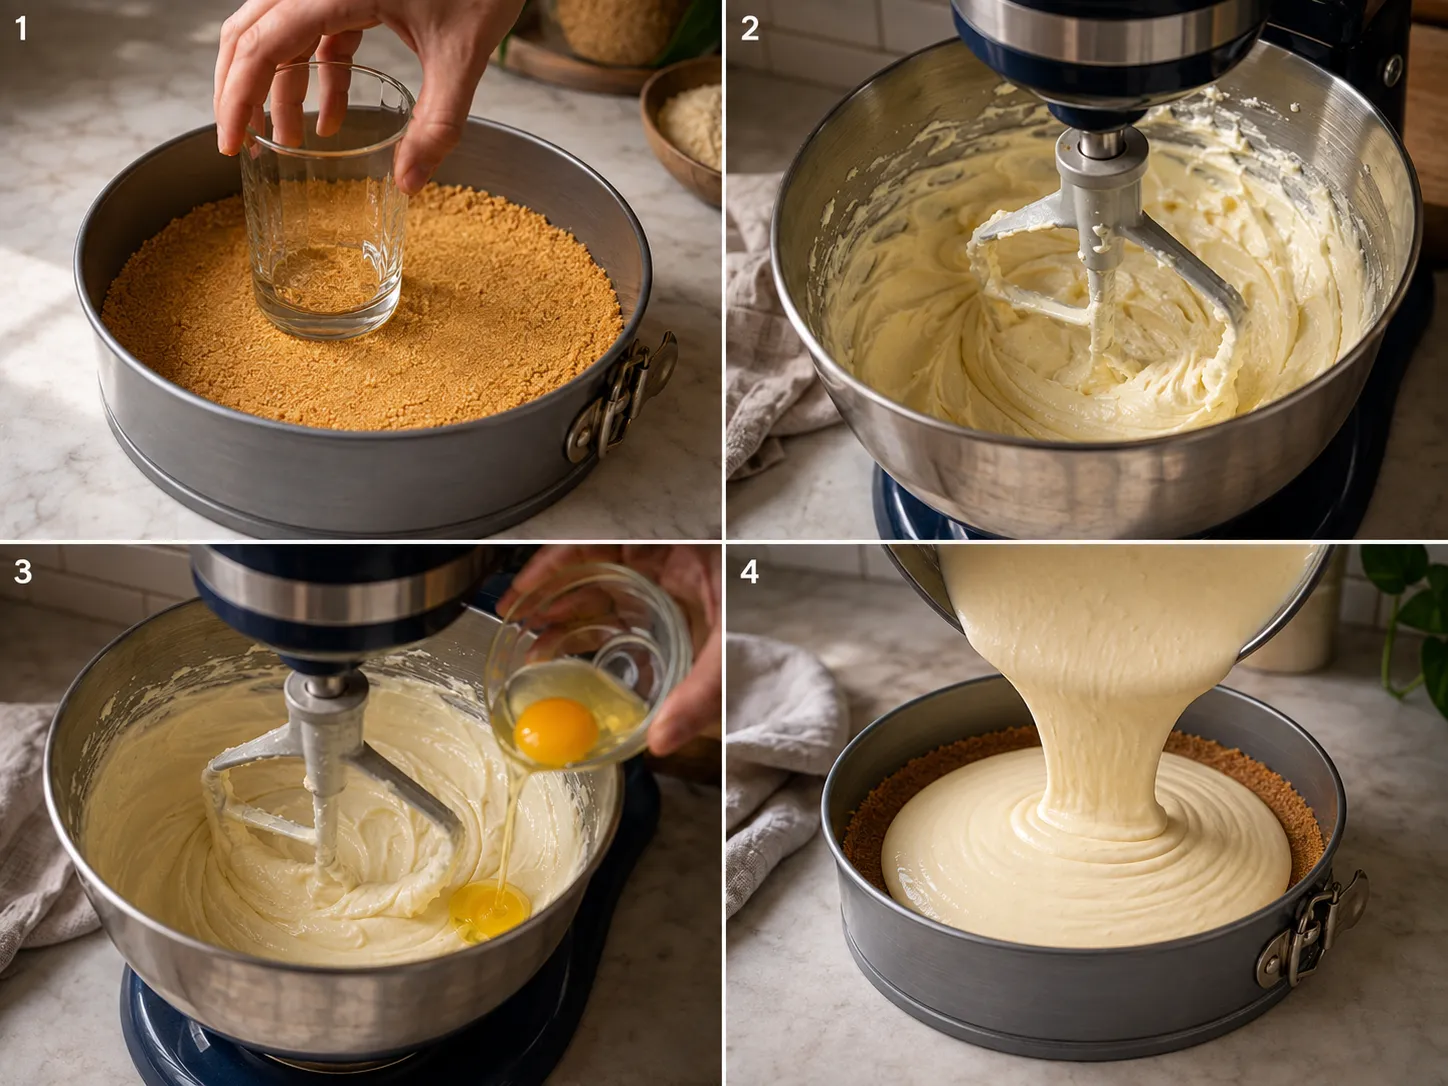
- Prebake the crust. Heat the oven to 350°F (175°C). Combine the graham cracker crumbs, sugar, melted butter, and salt in a bowl and stir until the crumbs are evenly moistened. Press firmly into the bottom and about 1 inch up the sides of a 9-inch springform pan, using the flat bottom of a glass to compact it evenly. Bake for 9 to 10 minutes until set and faintly golden. Set aside to cool.
- Beat the cream cheese. Place the room-temperature cream cheese in a large bowl or stand mixer with the paddle attachment. Beat on medium-low speed for about 90 seconds until completely smooth. Scrape down the bowl. Add the sugar, salt, and vanilla and beat until fully combined, scraping down once more.
- Add the eggs one at a time. With the mixer on its lowest speed, add the eggs one at a time. Wait until each egg disappears into the batter before adding the next, and scrape down the bowl between additions. Keep the speed low the whole time. Rushing this step or increasing the speed pushes air into the batter and causes cracks.
- Mix in the sour cream. Add the sour cream and mix on low just until combined and the batter looks glossy and uniform. Stop as soon as it comes together.
- Bake in two stages. Pour the filling into the cooled crust and smooth the top. Bake at 350°F (175°C) for 15 minutes, then reduce the oven to 300°F (150°C) without opening the door. Continue baking for 45 to 50 more minutes. The edges should be slightly puffed and the center should wobble like set gelatin when you nudge the pan.
- Cool slowly in the oven. Turn the oven off. Leave the cheesecake inside with the door fully closed for 1 hour. After that, crack the door halfway open and leave it for another 30 minutes before moving the cheesecake.
- Chill and unmold. Refrigerate for at least 6 hours, but overnight is better. When ready to serve, run a thin knife around the inner edge of the pan before releasing the springform ring. Slice with a warm, dry knife for neat portions.
Why the Slow Cool Matters
A cheesecake cracks when the surface sets faster than the center. The most common cause is pulling the hot cheesecake out of the oven and placing it directly into cooler air. The outside contracts quickly while the inside is still warm and expanding, and that tension splits the top.
Leaving it in the turned-off oven for an hour costs nothing and fixes the problem entirely. The heat fades gradually, everything contracts at the same rate, and the top stays smooth. The two-stage baking temperature works for the same reason: the higher heat sets the crust and starts the filling, and the lower heat finishes it gently without pushing the edges too far ahead of the center.
Room Temperature Is Non-Negotiable
Cold cream cheese does not beat smooth. Even several minutes of mixing will not fully break down the lumps that form when cold eggs meet partially-smooth batter. Pull the cream cheese, eggs, and sour cream from the fridge about an hour before you start. That one step makes more difference to the final texture than any other technique.
The eggs matter for their own reason too. Cold eggs firm up the batter faster and can cause uneven setting at the edges during baking. The USDA FSIS egg handling guidance notes that eggs should not sit at room temperature for more than two hours, so plan your timing with that in mind.
Swaps and Variations That Work
The crust adapts easily. Digestive biscuits replace graham crackers for a less sweet, slightly more buttery base. Two tablespoons of finely chopped pecans mixed into the crumbs add texture without changing the structure. For a chocolate version, swap two tablespoons of crumbs for unsweetened cocoa powder.
For the filling, full-fat Greek yogurt replaces sour cream in equal measure and adds a slightly tangier finish. A teaspoon of lemon zest in the batter brightens the whole cheesecake without changing the texture. You can also swirl two tablespoons of strawberry jam gently into the top of the unbaked filling for a marbled look.
Plain is also perfectly good. A top-quality cheesecake needs no topping at all, and fresh berries or a simple fruit sauce are easy additions when you want something more.
Storing, Freezing, and Serving
Cheesecake keeps in the fridge for up to five days. Cover it loosely once it is fully chilled so condensation does not collect on the surface. For longer storage, individual slices wrapped tightly in plastic wrap and then foil freeze well for up to two months. Thaw them overnight in the fridge, not on the counter.
This is one of the best make-ahead desserts you can bake. The texture and flavor are genuinely better on day two or three. Bake it the day before you need it at minimum. The FDA safe food handling guidance recommends keeping perishable desserts refrigerated and not leaving them at room temperature for more than two hours before serving.
Slice with a sharp knife dipped in warm water and wiped clean between cuts. That single habit is the difference between a clean slice and a messy one.
FAQs
- Do I need a water bath to bake cheesecake?
-
No. A water bath adds humidity and slows heat transfer, but you can get a smooth, crack-free result without one. The key is baking at two temperatures (higher then lower), keeping the mixing speed low to avoid adding air, and letting the cheesecake cool very slowly inside the turned-off oven. That gradual temperature drop does what the water bath is meant to do.
- Why did my cheesecake crack on top?
-
Cracks almost always come from one of three things: the filling was overmixed and full of air, the cheesecake baked a few minutes too long, or it cooled too fast after coming out of the oven. Mix on the lowest speed when adding eggs, pull it when the center still wobbles gently, and cool it inside the turned-off oven with the door shut for a full hour. Those three steps handle nearly every cracking problem.
- Can I substitute the sour cream?
-
Full-fat plain Greek yogurt is the best swap, same amount, same result. It adds a slightly tangier flavor that works well here. Heavy cream also works and produces a richer, denser texture. Low-fat versions of either have more water content, which makes the filling softer and can affect how it sets, so full-fat is always worth it.
- How long does cheesecake keep in the fridge?
-
Up to five days, loosely covered once it is fully chilled. The texture is actually best on days two and three, after the filling has had time to firm up completely and the flavors have come together. Keep it cold until about 20 minutes before serving so the full richness comes through.
- Can I freeze cheesecake?
-
Yes, and it freezes very well. Let it chill completely in the fridge first, then wrap individual slices or the whole cheesecake tightly in plastic wrap and then foil. It keeps for up to two months frozen. Thaw overnight in the refrigerator, not on the counter. The texture holds up well after freezing.
- The center is still jiggly when I take it out. Is that normal?
-
Yes, and it is exactly what you want. A two-to-three inch wobble in the center when you gently nudge the pan is the right sign. The cheesecake sets fully from residual heat during the cool-down. If it is completely firm in the oven, it will be dry by the time it is chilled. Jiggly at this stage is the goal.
- Can I use low-fat cream cheese?
-
Technically yes, but the result is noticeably different. Full-fat cream cheese gives the dense, velvety texture that defines a New York cheesecake. Low-fat versions have more water content, which makes the filling softer and can affect how cleanly it sets. If you want the real thing, full-fat is not optional.
References
Sources cited in this recipe.