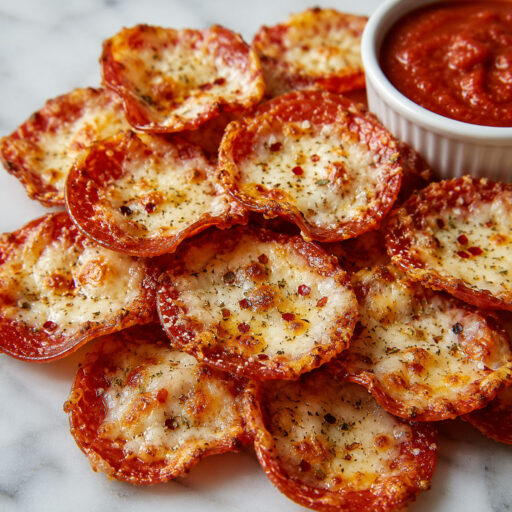
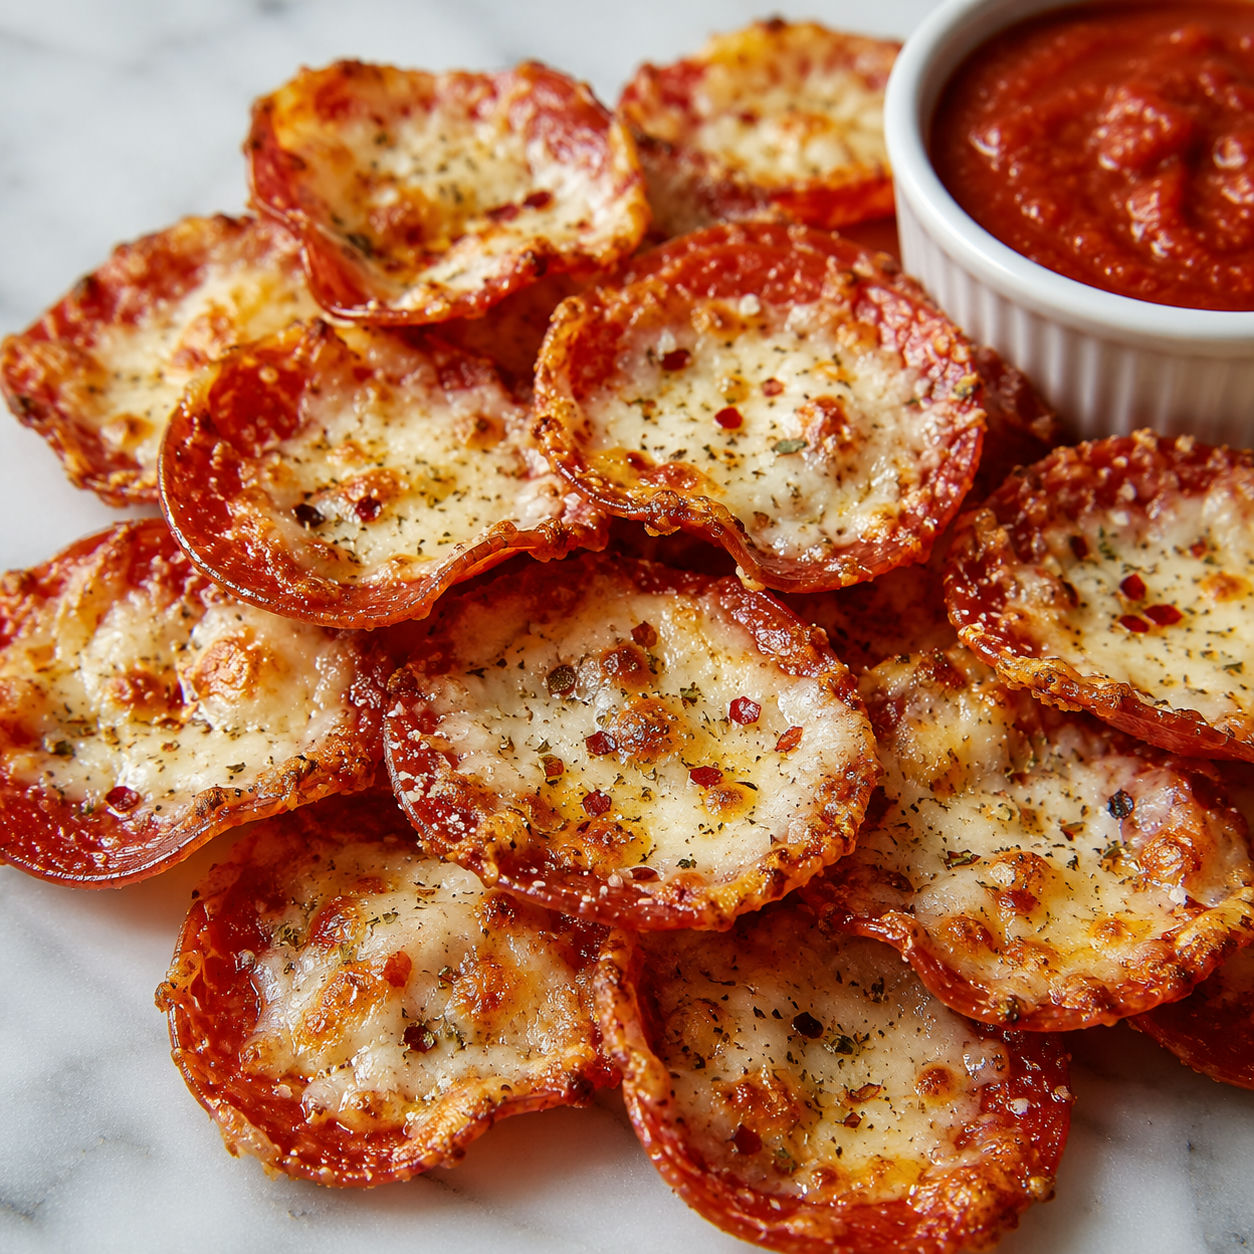

These chips came out of a night where I had leftover pepperoni, a strong pizza craving, and no interest in dealing with dough. Fifteen minutes in a hot oven later, I had something crispy, salty, and cheesy that disappeared off the tray faster than an actual pizza would have.
The interesting thing is how pepperoni behaves at high heat. The fat renders, the edges curl into little cups, and the whole slice goes from chewy to genuinely crisp. A quick press with a paper towel after the first bake pulls off the excess grease, then the cheese goes on for the final two minutes.
No rolling, no rising time, no complicated prep. These work as a game-day snack, an after-school bite, or a low-carb answer when the pizza craving hits at full force.
What Goes Into Each Crispy Cup
Regular deli pepperoni is all you need, but reach for whole-milk mozzarella over the pre-shredded bag. Freshly shredded mozzarella melts into smooth, stretchy pools without the anti-caking coating that makes bagged cheese slightly gummy.
- Pepperoni slices. These bake into small, curled cups in the oven, which is exactly where the melted cheese pools and stays put.
- Shredded mozzarella. The go-to cheese here because it melts clean, stays gooey, and doesn’t burn before the chip finishes crisping.
- Grated parmesan. A sprinkle on top adds a salty, nutty edge that browns at the edges for extra texture.
- Italian seasoning. Brings that familiar pizza-spice aroma that makes these taste like the real thing.
- Garlic powder. A subtle savory note that rounds out both the meat and the cheese.
- Red pepper flakes. Optional, but a pinch adds gentle heat that cuts through the richness of the fat.
- Marinara sauce. The ideal dip, though ranch dressing and garlic aioli are solid alternatives worth setting out.
How to Bake Them Right
- Preheat the oven. Set to 400 F (200 C) and line a large baking sheet with parchment paper.
- Arrange the pepperoni. Lay the slices flat in a single layer with a small gap between each one. They will shrink and curl as they bake, so don’t crowd them or they will steam instead of crisp.
- First bake. Slide the pan into the oven and bake for 8 to 10 minutes until the edges curl up, the slices sizzle, and the color deepens to a rich red.
- Pat off the grease. Pull the tray out and press each chip lightly with a folded paper towel to absorb the rendered fat. This step is what separates a crispy chip from a greasy one.
- Add cheese and seasoning. Sprinkle a pinch of mozzarella and a little parmesan on each chip, then dust with Italian seasoning, garlic powder, and red pepper flakes if using.
- Second bake. Return the tray to the oven for 2 to 3 minutes until the cheese melts fully and the edges go golden. Watch closely since they can brown fast at this stage.
- Rest briefly. Let the chips sit on the pan for one minute before moving them. They firm up noticeably as they cool.
Dry Them Off for Real Crunch
Pepperoni releases a lot of fat as it bakes. That fat is what makes it so flavorful, but if it pools under the chips, it keeps them soft and slick. The paper towel press takes about thirty seconds and makes a genuine difference. Fold a few sheets and press each chip lightly. You are not flattening them. You are lifting off the surface grease so the cheese has a clean, dry platform to melt on. According to data from the USDA FoodData Central, a standard 14-slice serving of pepperoni sits at around 130 to 140 calories, most of it from fat, so there is a meaningful amount rendering out during that first bake.
Which Cheese Works Best Here
Mozzarella is the default because it melts evenly and fast, and gives you those stretchy pulls when you bite into a chip. Buying a block and shredding it yourself takes two minutes and skips the anti-caking coating in pre-shredded bags that slows melting. A small amount of parmesan on top browns faster and adds a savory crust around the edges. Provolone is a good swap for a sharper flavor. Cheddar works but separates a little more than mozzarella does. If you enjoy this kind of high-heat crispy snack, our crispy baked zucchini chips use the same hot oven approach to get a firm, golden result with a different base.
Dipping Options Worth Setting Out
Marinara is the right call most of the time. It matches the pizza flavor and almost everyone likes it. A small bowl of ranch brings a cool, tangy contrast to the salty chips. Garlic aioli is another strong option if you want something richer. A spicy arrabbiata works for people who want real heat alongside the pepperoni. Set out two or three options at once and the spread takes care of itself. These pair really well with cheesy pepperoni pizza roll ups on a pizza-themed snack board that doesn’t require much more oven time to put together.
Four Ways to Change the Recipe
The base recipe holds up well on its own, but these variations are worth knowing. For an air fryer version, cook the pepperoni at 380 F (195 C) for 5 to 6 minutes, pat dry, add cheese, and air fry another 1 to 2 minutes. That method runs faster and tends to get crispier edges. For more heat, use hot capicola in place of standard pepperoni or add a heavier pinch of red pepper flakes. Turkey pepperoni is a lighter substitute that works, though it needs an extra minute or two and won’t cup quite as much. For a fuller pizza flavor, add a small dot of pizza sauce on each chip under the cheese before the second bake. For more crispy snack ideas in the same spirit, our crispy air fryer pasta chips and cheesy stuffed crust pizza snacks round out a snack platter really nicely.
Storing Without Losing the Crunch
These chips hold their crunch for a couple of hours left uncovered at room temperature. Once you seal them, trapped moisture softens them fairly quickly. For leftovers, keep them in an airtight container in the fridge for up to three days. To bring the crunch back, spread them on a baking sheet and run them through a 375 F oven for 4 to 5 minutes. The microwave makes them rubbery and is not worth trying. The USDA FSIS food safety guidelines recommend bringing reheated processed meats like pepperoni to 165 F internally before serving.
FAQs
- Can I make pepperoni pizza chips in the air fryer?
-
Yes, and it works very well. Arrange the slices in a single layer in the basket and cook at 380 F (195 C) for 5 to 6 minutes. Pat off the excess grease, top each slice with a pinch of cheese, and air fry another 1 to 2 minutes until melted. The circulating heat tends to get the edges crispier than the oven and the whole process runs a few minutes faster.
- What type of pepperoni works best for pizza chips?
-
Standard thin-sliced deli pepperoni gives you the best result. The slices curl up into small cups as they bake, which holds the melted cheese nicely. Thick-cut or old-world pepperoni takes longer and won’t cup as dramatically, but it has more chew. Turkey pepperoni works if you want less fat, though it needs an extra minute or two and won’t crisp quite the same way.
- Why did my pepperoni pizza chips turn out soggy?
-
Two likely causes. First, the slices may have been too close together on the pan. They steam each other when crowded instead of crisping, so always leave space between each one. Second, the paper towel step after the first bake is easy to skip but it makes a real difference. Patting off the rendered fat is what lets the chips firm up rather than sit in their own grease.
- Can I use a different cheese instead of mozzarella?
-
Yes. Provolone melts smoothly and adds a slightly tangy edge. Cheddar works but separates a little more. Monterey Jack is mild and melts well. Avoid using only hard aged cheeses on their own since they can burn before the chip finishes crisping. A mix of mozzarella and parmesan is the most reliable combination and gives you both melt and a browned, salty crust.
- Are pepperoni pizza chips keto or low-carb?
-
Yes. Pepperoni and mozzarella are both very low in carbohydrates and this recipe has essentially none beyond a trace from the cheese. They are a popular low-carb answer for anyone craving pizza without the crust. Watch the marinara if you are tracking carbs carefully. Ranch dressing makes a good near-zero-carb dip instead.
- How far in advance can I make these?
-
Up to two hours ahead works fine if you leave them uncovered at room temperature. Beyond that they start to soften. For next-day leftovers, store in an airtight container in the fridge and reheat in a 375 F oven for 4 to 5 minutes. They won’t be quite as crispy as fresh off the pan, but they still taste good. Avoid the microwave since it makes them rubbery.
References
Sources cited in this recipe.