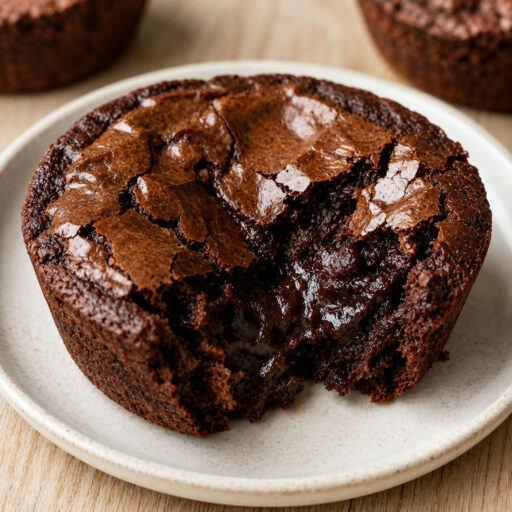
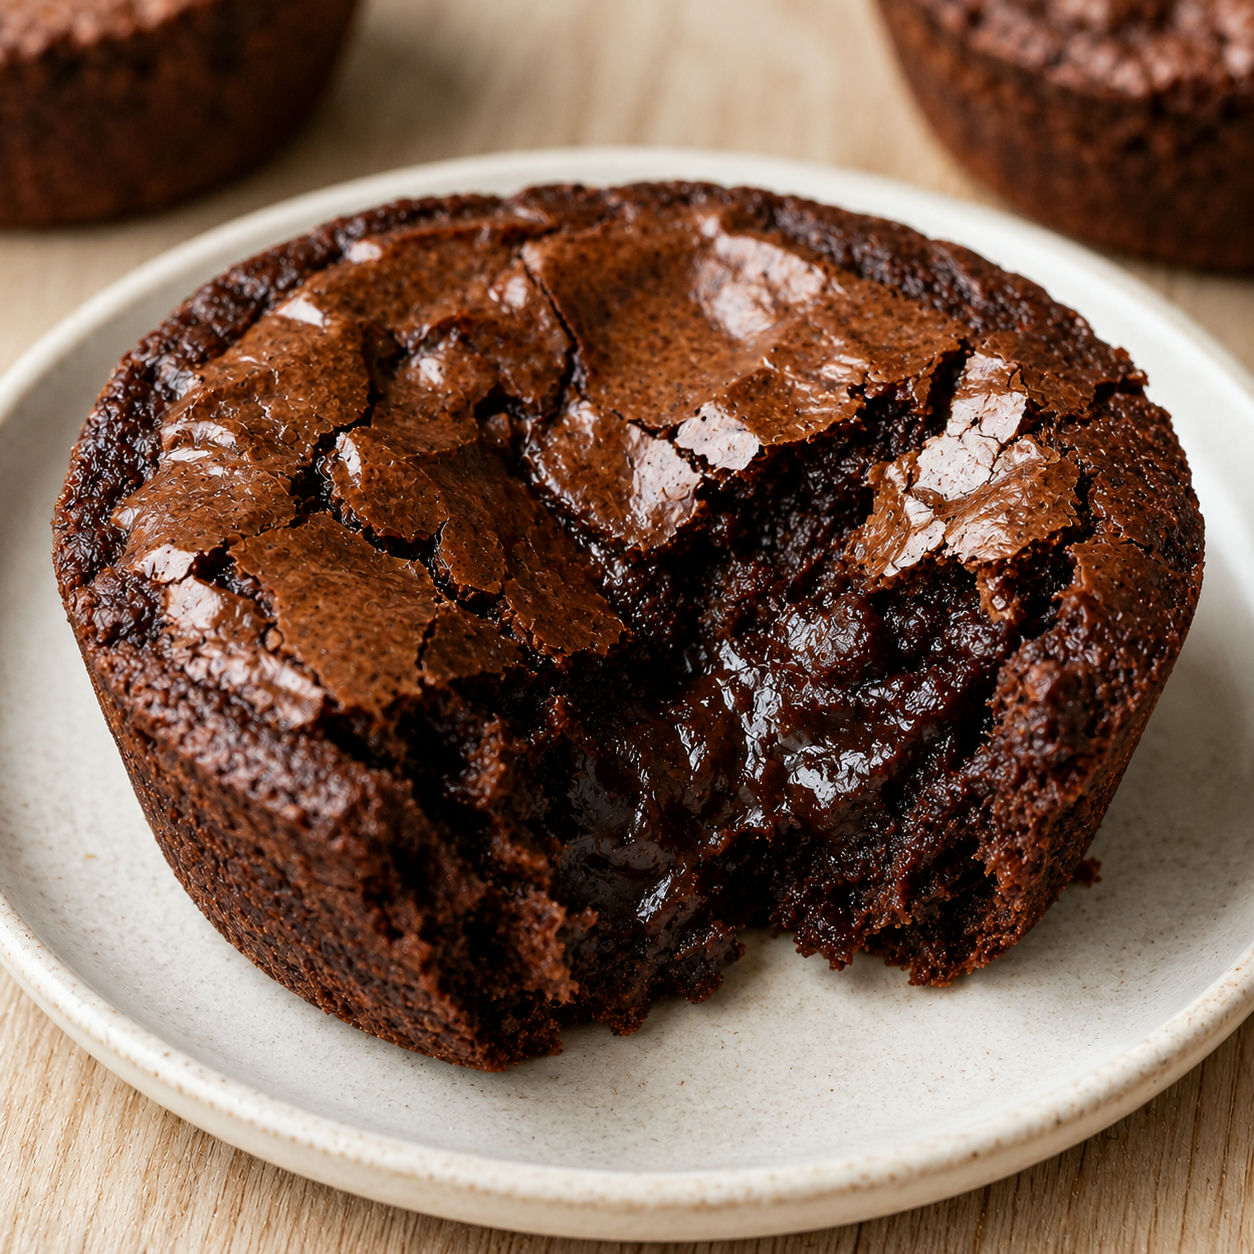

If you have ever argued with someone over the edge pieces, this is how you settle it for good. A muffin pan gives every single brownie its own crispy perimeter, no sharing required.
The method is exactly the same as a standard pan. You make the same batter, pour it in, and bake. What changes is the geometry. More surface area touches hot metal, more edges form, and the centers stay fudgy because the small volume of batter cooks through quickly without drying out.
These are the brownies I bring to any gathering. No slicing, no uneven squares, just lift them out of the pan and serve.
The Chocolate Lineup That Counts
Good brownies reward quality ingredients. Use real butter, a chocolate bar you would actually eat, and Dutch-process cocoa if you can find it. Everything else is a pantry staple.
- Unsalted butter. Melted butter gives brownies a denser, fudgier crumb than creamed butter, which is exactly what you want here.
- Semi-sweet chocolate. Melted directly into the butter, it builds a deep chocolate base. Choose 60 to 70% cacao for rich flavor without bitterness.
- Granulated sugar. Dissolves into the batter and helps create the crackly, slightly shiny top on each cup.
- Eggs plus one extra yolk. Two whole eggs give structure while the extra yolk adds richness and fudginess without making the batter too wet.
- Vanilla extract. Rounds out the chocolate and keeps the flavor from tasting flat.
- All-purpose flour. Just enough to hold the structure. Too much and you lose the chew; too little and the cups collapse when you lift them out.
- Unsweetened cocoa powder. Deepens the chocolate flavor alongside the melted bar. Dutch-process gives a darker color and a smoother, less acidic taste.
- Fine salt. One pinch makes the chocolate taste more like chocolate. Do not skip it.
How to Fill and Bake Them
- Preheat and prep the pan. Heat the oven to 350°F (175°C). Generously grease a 12-cup muffin pan with softened butter, then dust with cocoa powder and tap out any excess. This gives a clean release and adds a thin chocolatey crust to the outside of each cup.
- Melt the butter and chocolate. Combine the butter and chopped chocolate in a medium saucepan over low heat, stirring constantly until smooth. Remove from heat and let it cool for five minutes so it does not scramble the eggs when you add them.
- Add sugar, eggs, and vanilla. Whisk the sugar into the warm chocolate mixture, then add the eggs and extra yolk one at a time, whisking well after each. Stir in the vanilla. The batter will thicken slightly and turn glossy.
- Fold in the dry ingredients. Sift the flour, cocoa, and salt over the batter and fold with a spatula until just combined. Stop the moment you no longer see dry streaks. Overmixing activates gluten and turns the brownies cakey instead of fudgy.
- Fill the cups. Divide the batter evenly among the 12 cups, filling each about two-thirds full. A cookie scoop makes this fast and keeps portions consistent.
- Bake and check early. Bake 18 to 22 minutes until the edges pull away from the cup sides, the tops look set and dry, and a toothpick inserted in the center comes out with a few moist crumbs. Pull them on the earlier side for a fudgier center.
- Cool before removing. Let the pan cool on a wire rack for 10 minutes, then run a thin knife around each cup and lift them out. They firm up as they cool.
Why the Muffin Pan Wins
The reason is simple geometry. When brownie batter bakes in a 9×13 pan, only a thin line of surface area touches the hot pan sides. Most pieces get two edges at most, and only the corner slices get the full crispy treatment.
In a muffin cup, the batter is surrounded on five sides. Bottom, left, right, front, and back. Every cup develops a full perimeter of caramelized, slightly firm crust while the small volume of batter in the center stays moist and fudgy.
The high walls of the cup also trap steam during baking, which keeps the centers from drying out the way a thin slab in a flat pan can. The food scientists at Serious Eats have documented how batter depth and surface contact change final brownie texture, and the muffin cup is essentially an engineered edge piece.
The Doneness Window Is Narrow
Brownies have a short window between wet in the middle and dry all the way through. In a muffin pan that window is even tighter because the cups are small and cook faster than a full sheet pan batch.
Start checking at 18 minutes. Look for edges that have pulled away from the cup sides, a dry and set top, and a toothpick with a few moist crumbs clinging to it rather than wet batter. Pull them even if the very center looks slightly underset. The hot pan carries over heat for several minutes after you take it out of the oven.
The team at King Arthur Baking recommends pulling most bar cookies before the toothpick comes out completely clean for exactly this reason. Carryover heat is real, and brownies punish overbaking more than almost any other baked good.
Mix-Ins and Easy Swaps
The base batter is a good canvas. Fold in chocolate chips for molten pockets, chopped walnuts or pecans for crunch, or swirl a teaspoon of peanut butter into each cup before baking. Half a teaspoon of espresso powder folded into the dry ingredients amplifies the chocolate without tasting like coffee.
For a different take, swap the semi-sweet bar for all cocoa powder by replacing each ounce of chocolate with three tablespoons of cocoa plus one tablespoon of butter. The all-cocoa version bakes up slightly drier and more cakey, which some people prefer. If you want to take things a step further with frosting, the buttercream on the Ultimate Chewy Fudgy Brownies spreads beautifully over these cups too.
For something completely different but just as easy, Apple Brownies with Maple Glaze use a similar batter with shredded apple folded in, and they bake just as well in the same pan.
Storing and Serving Them Right
Room temperature storage in an airtight container keeps these good for three to four days. The crispy edges soften a little by day two but the flavor deepens and the centers stay chewy. If you want them at their crispiest, eat them the day they are baked.
For make-ahead purposes, these freeze well. Wrap each cup individually in plastic wrap, put them all in a freezer bag, and freeze for up to three months. Thaw at room temperature for an hour or warm in a 300°F oven for five minutes. If you need a large-batch brownie recipe for a crowd, the Lunchroom Ladies Brownies are worth having in your rotation for sheet-pan quantities.
FAQs
- Do I use a regular muffin pan or a mini muffin pan?
-
Either works, but the timings differ. A standard 12-cup muffin pan bakes in 18 to 22 minutes and gives you a substantial brownie cup with a real chewy center. A mini muffin pan bakes in 10 to 13 minutes and produces smaller, crispier bites with less fudgy pull. Both are good. Just check early because the small cups go from done to overdone fast.
- Do I need paper liners or can I just grease the pan?
-
Greasing the pan directly gives you better crispy edges on the sides and bottom. Liners work, but the brownie can stick to the paper and you lose some of that caramelized crust. If you use liners, choose foil ones rather than paper because they release much more cleanly. For the best results, grease generously with butter and dust with cocoa powder instead of flour.
- Can I use a box mix instead of making the batter from scratch?
-
Yes, any standard brownie box mix works perfectly in a muffin pan. Prepare the batter as directed on the box and fill the cups about two-thirds full. The bake time will be shorter than the box says for a 9×13 pan, so start checking at 18 minutes. You get the same crispy-edge result with far less effort.
- How do I know when the brownie cups are done?
-
Look at the edges first. When they pull away from the cup sides and look set and slightly darker, the centers are at the fudgy sweet spot. A toothpick inserted in the center should come out with a few moist crumbs, not wet batter. If it comes out completely clean, they are overdone and will be dry. Pull them when a few crumbs still cling and let carryover heat finish the job.
- Can I add chocolate chips or nuts to the batter?
-
Absolutely. Fold in up to one-third cup of chocolate chips, walnuts, pecans, or peanut butter chips right before filling the cups. You can also swirl a teaspoon of peanut butter or Nutella into each cup before baking. Keep mix-ins on the smaller side so the batter fills the cups evenly and each brownie gets a consistent bake.
- How do I store leftover brownie cups and how long do they keep?
-
Store them in an airtight container at room temperature for up to four days. The crispy edges soften a little by day two, but the flavor deepens overnight. For longer storage, freeze individually wrapped brownie cups for up to three months and thaw at room temperature for an hour, or warm them in a 300°F oven for five minutes.
- Can I make these ahead for a party or event?
-
Yes, and they actually benefit from it. Bake them a day ahead and store covered at room temperature. The chocolate flavor deepens and the centers stay chewy. If you want them at their crispiest for serving, pop them in a 300°F oven for five minutes right before the party. They come back to life quickly and the edges firm right up again.
References
Sources cited in this recipe.