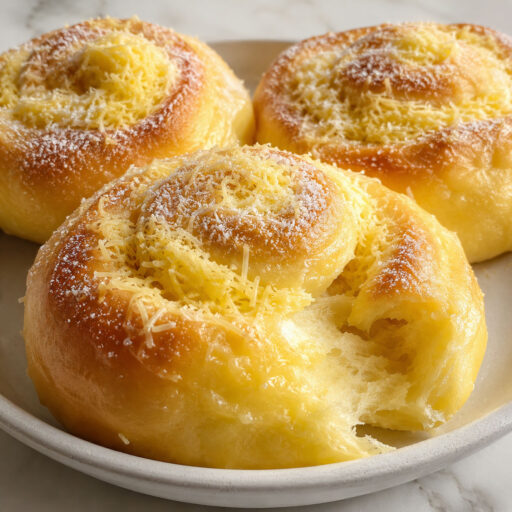
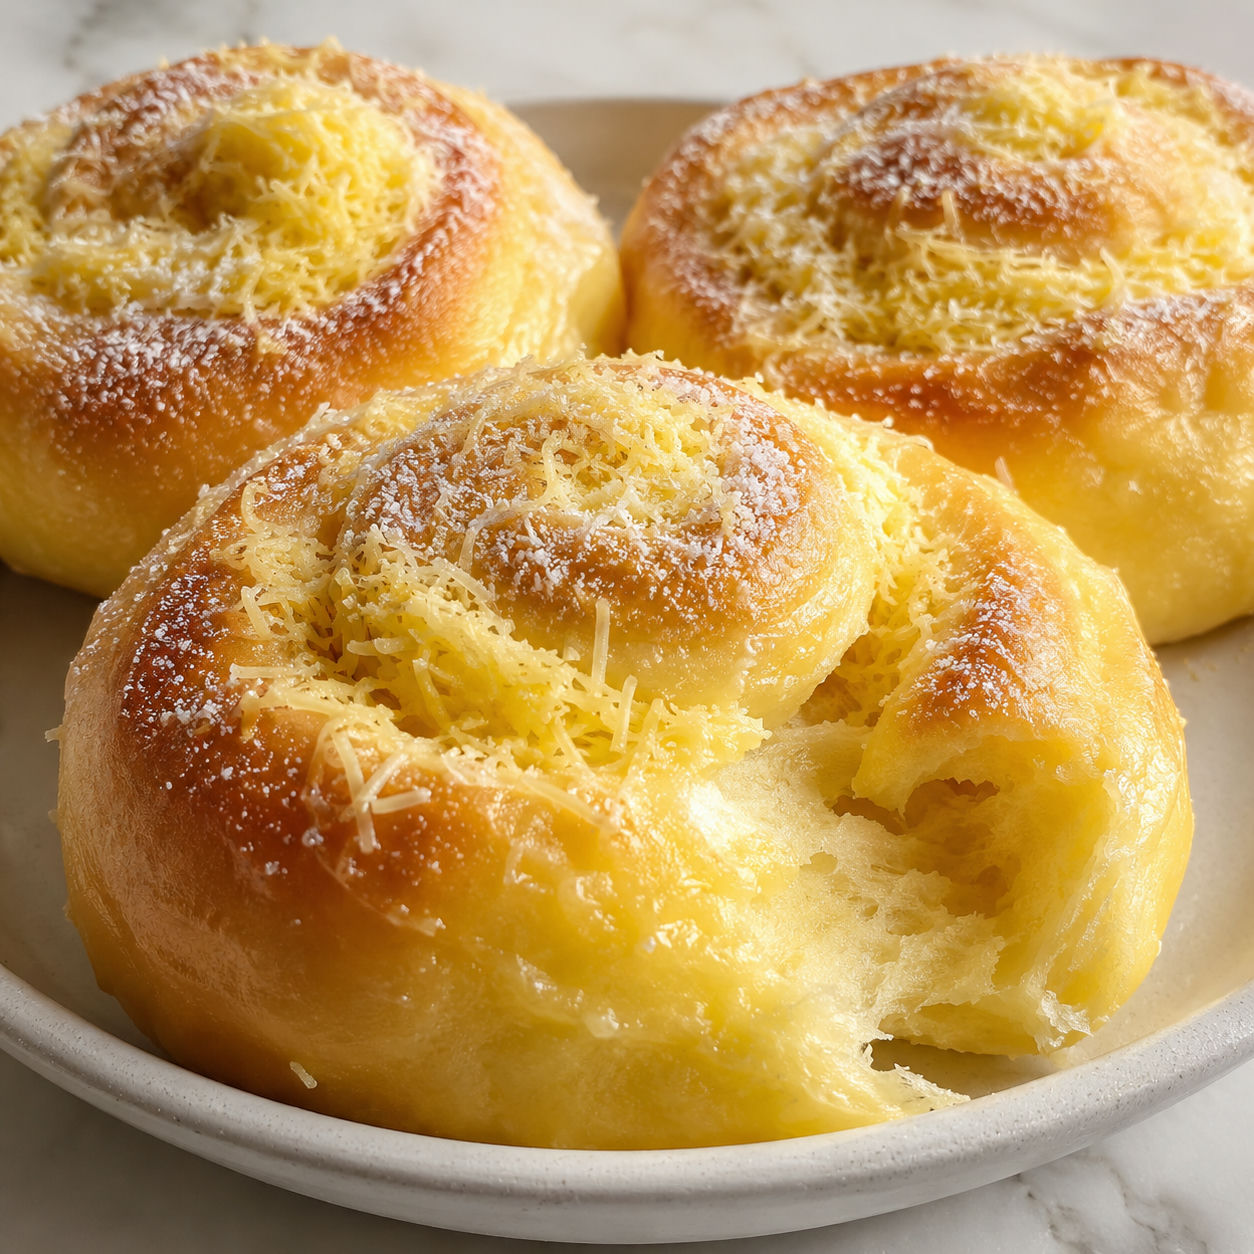

Ensaymada is one of those Filipino breads that comes with a whole mood attached. Soft, pillowy coils, a smear of butter while still warm, a shower of sugar, and salty grated cheese on top. The sweet-salty combination is not a gimmick. It works, and once you’ve had it fresh from the oven you understand why it shows up at every Filipino breakfast table and holiday spread.
The bread traces its roots to the Spanish ensaimada from Mallorca, but the Filipino version became its own thing over centuries: softer, sweeter, and finished with that iconic cheese topping. No bakery version compares to a batch made at home.
Active work is maybe 30 to 40 minutes. The rest is waiting for the dough to rise. If you have made any yeasted bread before, this is well within reach.
What Goes Into the Dough
Every ingredient here pulls weight. This is an enriched dough, meaning eggs, sugar, and butter all go in, and each one shapes the final texture. Fresh yeast and good-quality butter matter more than usual.
- Bread flour. Higher protein than all-purpose, it builds the gluten network that gives the rolls their soft but slightly chewy pull.
- Active dry yeast. Proofed in warm milk first to confirm it is alive. If it does not foam in 10 minutes, start over with fresh yeast before continuing.
- Whole milk. Warmed to 110°F (43°C), it activates the yeast and enriches the crumb. Too hot and it kills the yeast. It should feel warm, not hot, on your wrist.
- Eggs. Add richness and structure. Room-temperature eggs incorporate more smoothly into the dough.
- Unsalted butter. Added gradually during kneading, it gives the rolls their characteristic softness. Cold butter fights the dough. Leave it out 30 to 45 minutes before you start.
- Granulated sugar. In the dough for sweetness and browning, and again on top as the first layer of the topping.
- Sharp cheddar or Eden cheese. Finely grated and piled on last, it creates the sweet-salty finish the bread is famous for.
Shaping and Baking the Rolls
- Activate the yeast. Stir the yeast and a pinch of sugar into the warm milk. Let sit for 10 minutes until foamy. If nothing happens, your yeast may be old. Start fresh before moving on.
- Mix the dough base. Combine flour, remaining sugar, and salt in a large bowl or stand mixer bowl. Add the eggs and the yeast mixture. Stir or mix on low until a shaggy dough forms with no dry patches.
- Knead and add butter. Knead on medium speed for 5 minutes. Then add softened butter one tablespoon at a time, waiting until each piece is fully absorbed before adding the next. Knead 8 to 10 more minutes until the dough is smooth, elastic, and slightly tacky. It should stretch thin between your fingers without tearing.
- First rise. Shape the dough into a ball and place in a lightly oiled bowl. Cover with plastic wrap or a damp cloth and let rise in a warm spot for 1 to 1.5 hours until doubled in size.
- Shape the spirals. Punch the dough down and divide into 12 equal pieces. Roll each piece into a rope about 12 inches (30 cm) long. Coil each rope into a tight spiral from the center out, tucking the loose end underneath. Place in well-greased ensaymada molds or muffin cups.
- Second rise. Cover loosely and let the shaped rolls rise 45 to 60 minutes until noticeably puffy and the dough springs back slowly when lightly pressed. Preheat the oven to 350°F (175°C) during the last 15 minutes of this rise.
- Bake. Bake for 15 to 18 minutes until the tops are light golden and the rolls sound hollow when tapped on the bottom. Do not overbake or they will dry out.
- Top while hot. Immediately brush each roll with softened butter. Sprinkle generously with granulated sugar, then finish with finely grated cheese. The warmth from the bread draws the butter in and helps the cheese stick.
Getting the Kneading Right
The windowpane test is the most reliable sign that your gluten is developed. Pull off a small piece of dough and gently stretch it between your fingers. If it stretches thin enough to see light through without tearing, you are done. If it tears, knead two more minutes and test again.
Adding butter gradually is the step most people rush. Dump it all in at once and the dough turns greasy and loose. One tablespoon at a time, the fat coats the gluten strands gradually and the dough transforms into something smooth and almost satiny. If you are new to enriched doughs, King Arthur Baking’s yeast baking guide covers proofing and kneading stages in useful detail.
Why the Cheese Belongs on Top
Grated cheese on a sweet, buttered roll sounds odd until you taste it. The salt cuts through the richness, and the slight sharpness adds depth that sugar alone cannot deliver. In the Philippines, this combination signals celebration: bakery mornings, family holidays, someone’s birthday breakfast.
Use a fine grater so the cheese forms a soft cloud rather than chunky shreds. It settles into the warm butter and sugar and creates a topping that is sticky, salty, and unlike anything else. If you want to compare approaches, our Soft and Buttery Classic Ensaymada Bread has a variation of this topping worth trying alongside this one.
Make-Ahead, Storage, and Freezing
Ensaymada is best the day it is baked, but it holds reasonably well for two to three days in an airtight container at room temperature. Reheat at 300°F (150°C) for 8 to 10 minutes. Avoid the microwave if you can as it makes the bread gummy instead of fluffy.
To freeze, let the plain baked rolls cool completely, wrap tightly, and freeze for up to two months. Thaw overnight at room temperature and add the butter, sugar, and cheese fresh after reheating. For a morning bake with minimal morning work, shape the rolls the night before, refrigerate overnight, then let them finish proofing at room temperature for 90 minutes before baking. The slow fermentation also adds a little more flavor.
Swaps and Variations That Work
All-purpose flour works at a slight texture trade-off. For a richer dough, swap two tablespoons of milk for heavy cream, or replace the regular milk entirely with evaporated milk for a subtle caramel depth that some Filipino bakeries favor. Both are good variations.
For the topping outside the Philippines, sharp cheddar is the most accessible substitute for Eden cheese. Gouda and mild Edam also work well. Some bakers spread a thin layer of cream cheese under the butter for extra richness. It is not traditional but it is not wrong either.
If you enjoy enriched sweet breads in general, the Conchas Pan Dulce on this site is a similar spirit from a different tradition. The Easy Almond Cherry Bread is another enriched loaf worth trying once you have this one dialed in.
A note on food safety: the FDA food safety guidelines are worth a quick read any time you are baking with eggs and dairy at the warm temperatures needed for yeast activation.
FAQs
- Can I use all-purpose flour instead of bread flour?
-
You can, though the texture will be slightly softer and less chewy. Bread flour’s higher protein content builds more gluten, which gives ensaymada its characteristic pull. If all-purpose is all you have, reduce the milk by one tablespoon to compensate for its lower absorption. The rolls will still taste great.
- What cheese do Filipinos traditionally use for ensaymada?
-
Eden cheese, a mild processed cheese sold widely in the Philippines, is the classic choice. Outside the Philippines, sharp cheddar or a mild Gouda are the best substitutes. Finely grated parmesan also works but is saltier, so use a lighter hand. The goal is a cheese that melts slightly from the bread’s warmth and clings to the butter.
- Can I make the dough the night before?
-
Yes. After the first rise, punch the dough down, shape the rolls, place them in their molds, then cover and refrigerate overnight. Pull them out about 90 minutes before baking to finish the second rise at room temperature. Cold-proofed dough often develops slightly more flavor than same-day dough.
- Why did my ensaymada turn out dense?
-
Usually one of three things: yeast that was dead or killed by milk that was too hot, dough that was under-kneaded so gluten never fully developed, or rolls that did not proof long enough before baking. Check that your yeast foams within 10 minutes of activating. Knead until the dough stretches thin without tearing. And give the second rise enough time until the rolls look noticeably larger.
- Can I freeze ensaymada?
-
Freeze them before adding the topping. Let baked rolls cool completely, wrap tightly in plastic, and freeze for up to two months. Thaw overnight at room temperature, warm in a 300°F (150°C) oven for 8 to 10 minutes, then add the butter, sugar, and cheese fresh. The topping does not survive freezing well.
- Do I need special ensaymada molds?
-
No. A standard muffin tin works well for smaller rolls. Individual brioche tins, small round cake pans, or even ramekins all work too. What matters is that the mold holds the spiral shape as the dough rises and bakes. Grease whatever you use generously so nothing sticks.
- How do I reheat ensaymada the next day?
-
A 300°F (150°C) oven for 8 to 10 minutes brings them back close to fresh. Avoid the microwave if you can. It makes the bread gummy rather than fluffy. If the topping looks dry after reheating, add a small smear of fresh butter and a pinch of cheese while the rolls are still warm from the oven.
References
Sources cited in this recipe.